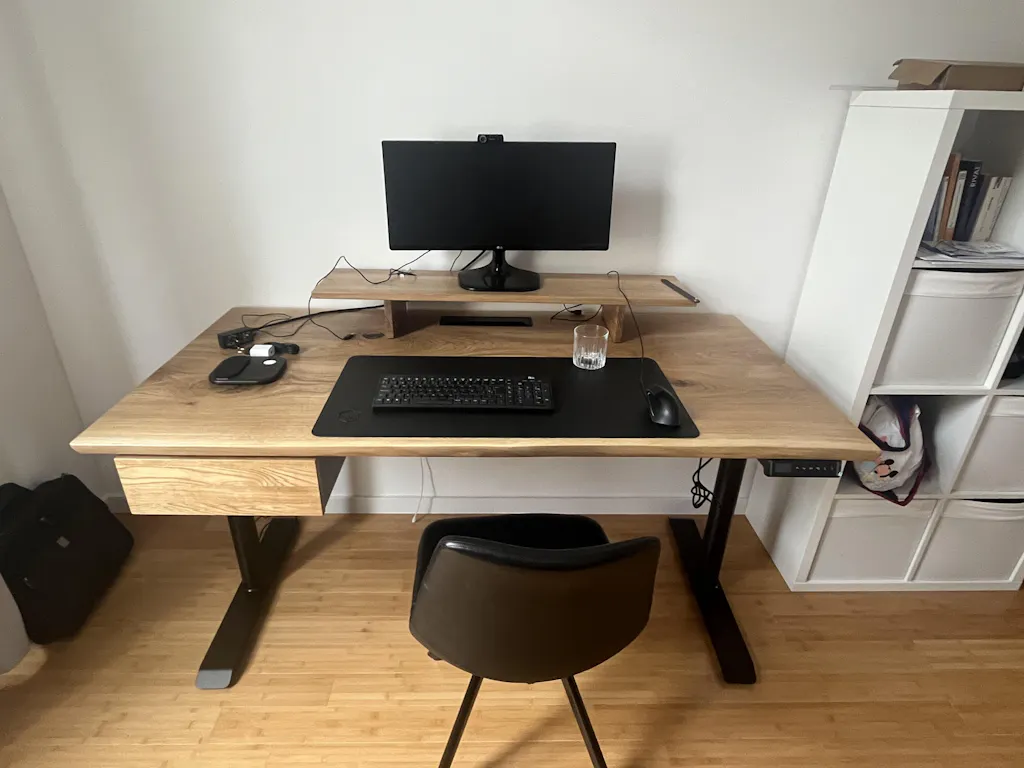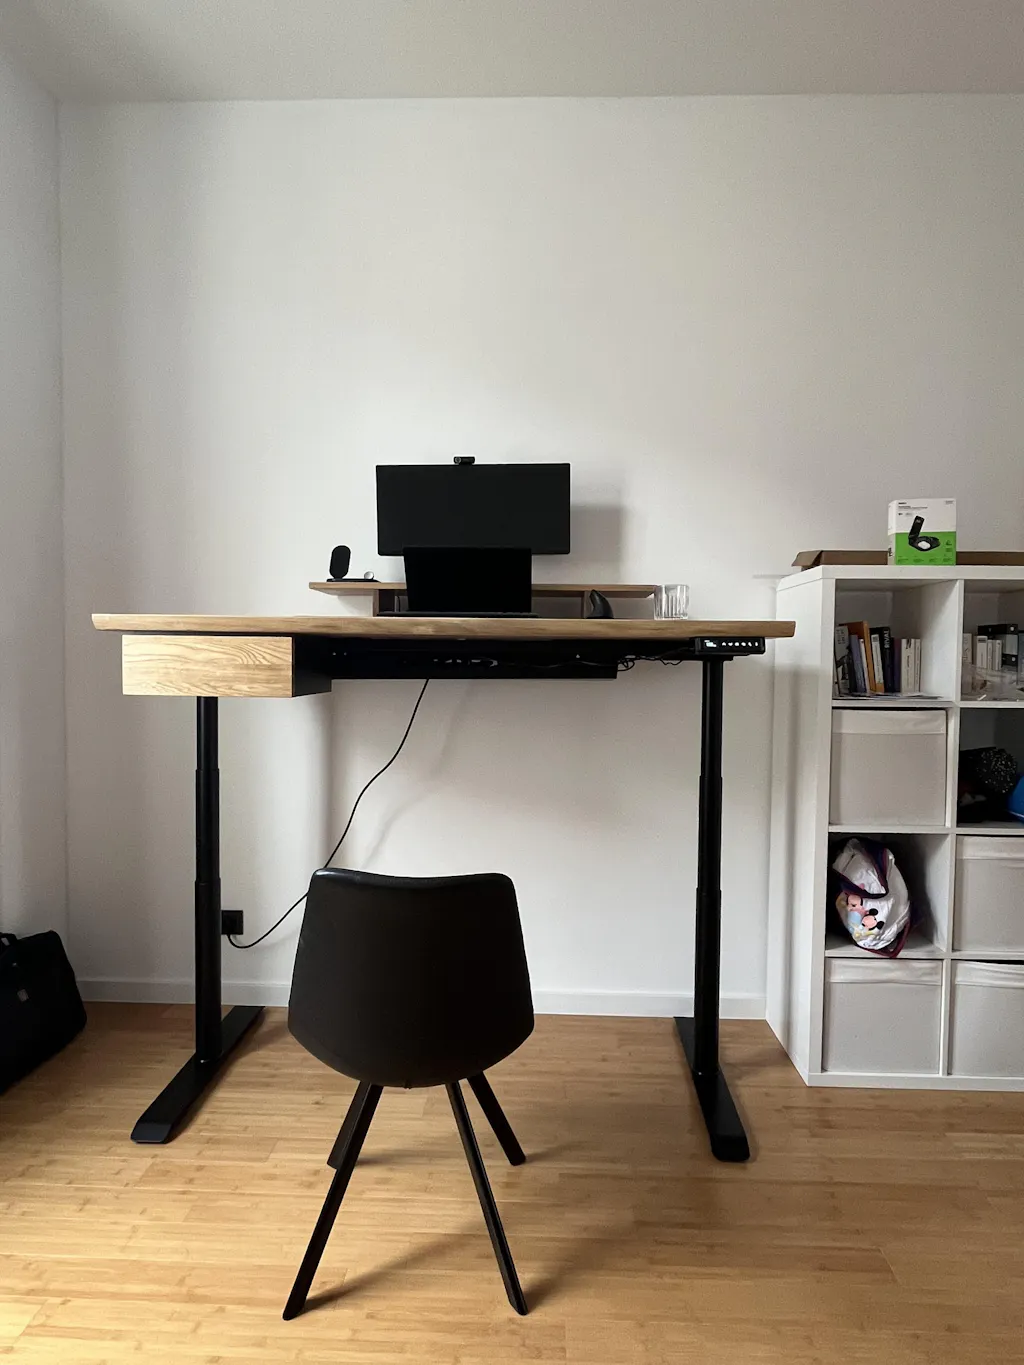

Thank you very much for this beautiful desk.
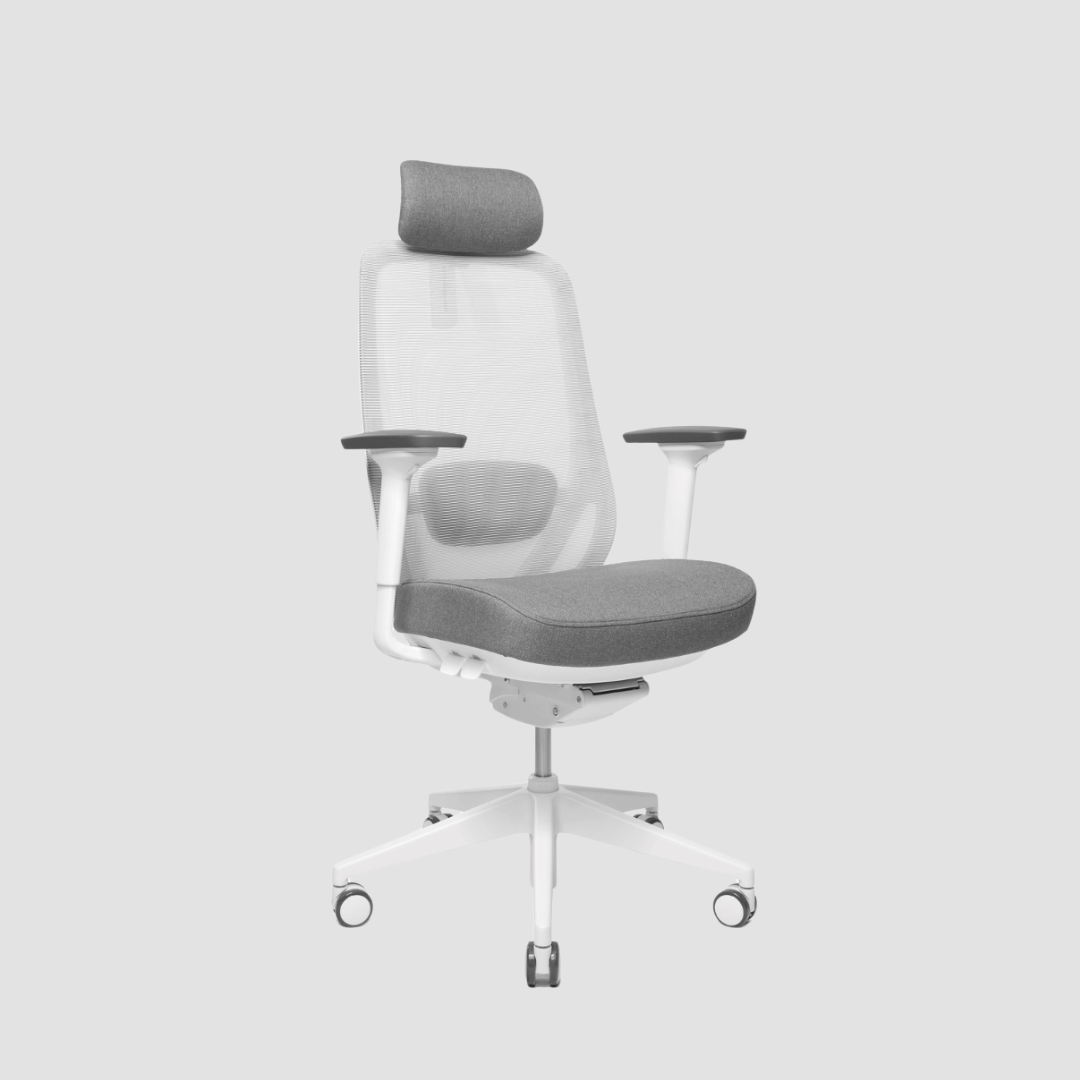
Perfect chair, easy to use and still feels really comfortable after a long days work!
Highly recommended add on as it makes the desk very mobile and convenient to move around. Adds another dimension to the standing desk experience. Have two Oako desks one without casters and one with, the mobile one is great to move around on a hard surface.
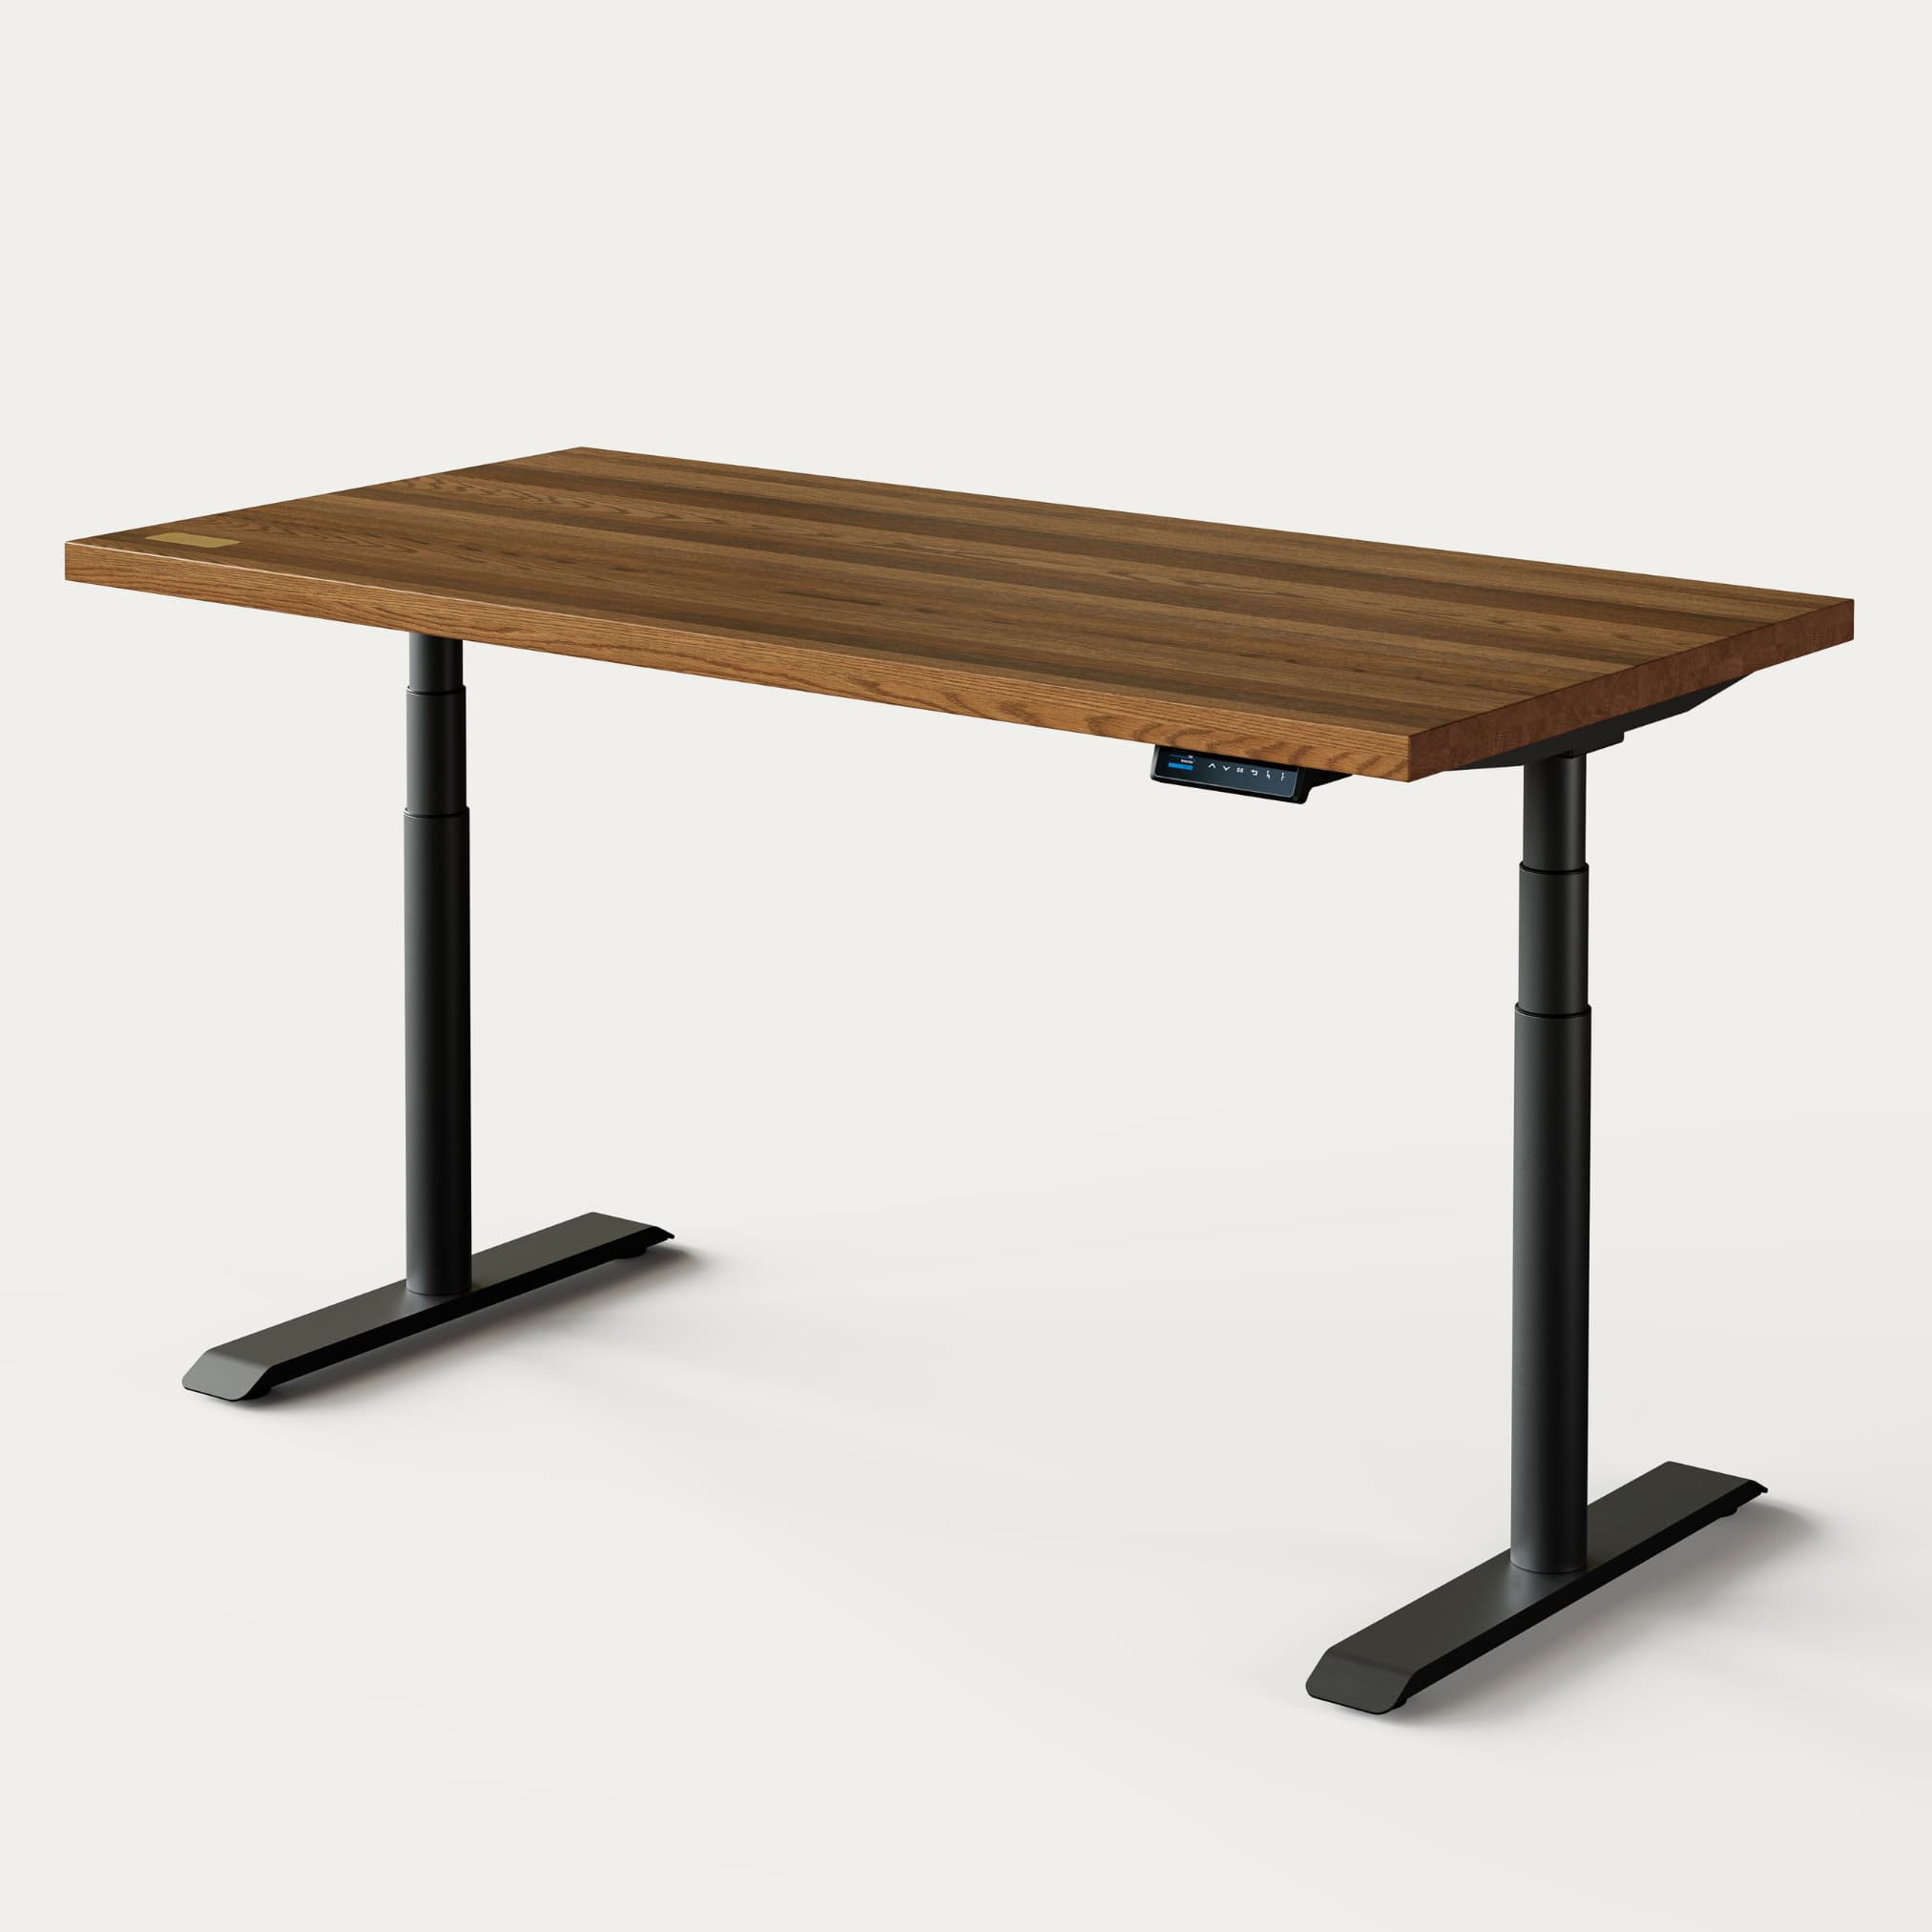
Great product of high quality. The shipment took longer than expected but the final product delivered was worth waiting for it. Oako Denmark costumer service provided feedback along the way, was available and adjusted to my requirements. All seems to be made in Europe and high quality! Worth recommending it!